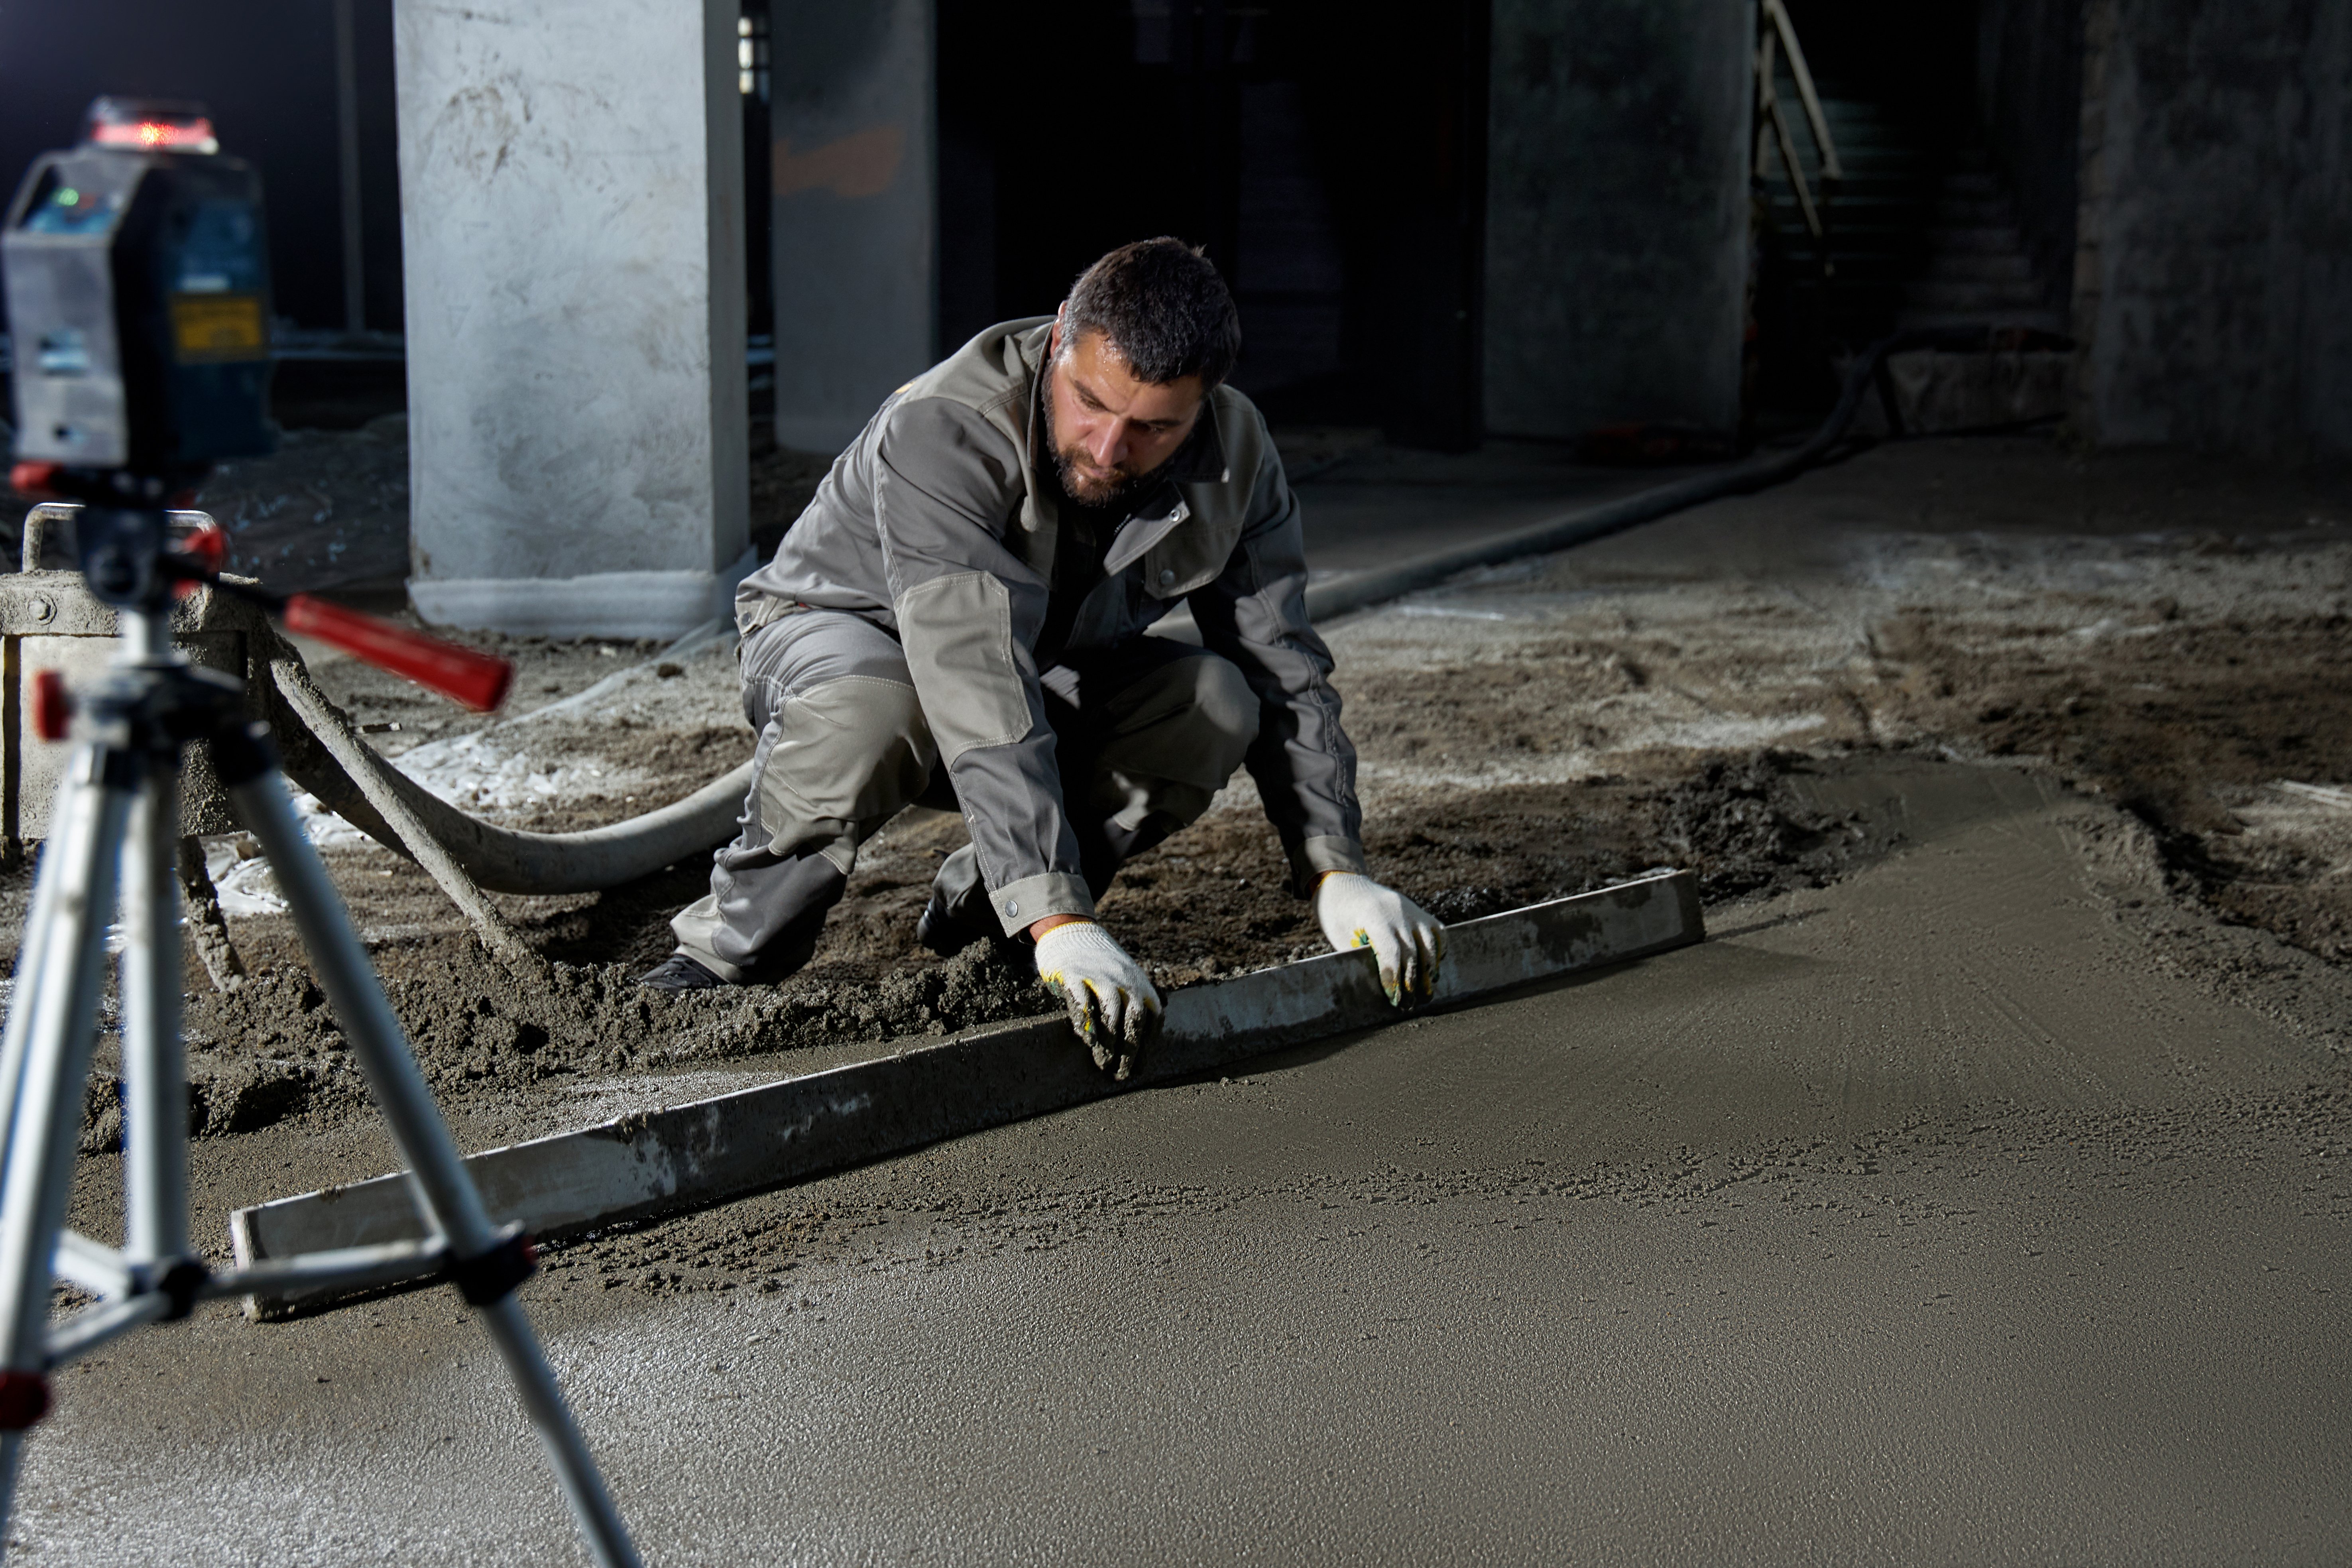
In modern construction, most new floors are no longer laid directly on the concrete slab. Between the structure and the finished floor there is now almost always a layer of insulation, often underfloor heating pipes and sometimes an acoustic layer as well. The screed laid on top of all this is a floating screed.
It’s the most common screed construction in new-build housing in the UK, and yet it’s also the one that leaves the least room for error. A floating screed isn’t held in place by the slab below: it has to stand on its own, on a soft layer, and cope with shrinkage, loads and thermal movement without cracking or curling. This guide explains what a floating screed is, how it’s built, how thick it needs to be and what makes the difference between a floor that lasts and one that causes problems.
Contents
- What is a floating screed?
- Floating, bonded and unbonded screed: the differences
- How a floating screed is built: the layers
- Why choose a floating screed?
- Choosing and laying the insulation
- Floating screed minimum thickness: how thin can it be?
- Sand and cement or liquid floating screed?
- Reinforcement: mesh or fibres?
- Joints and perimeter strips
- Floating screeds and acoustic performance
- How to lay a floating floor screed: the key steps
- Curing and drying a floating screed
- Floating screeds in refurbishment and on timber floors
- Common problems and how to avoid them
- Overmat solutions for floating screeds
What is a floating screed?
A floating screed, also called a floating floor screed, is a screed laid on a layer of insulation, so that it has no direct contact with the structural base beneath it or with the surrounding walls. It is separated from the slab by the insulation and a separating membrane, and from the walls by a compressible perimeter strip.
In other words, the screed “floats” on the insulation. It isn’t bonded to anything, and it relies entirely on its own thickness and strength to spread loads over the soft layer below and to provide a sound, flat surface for the floor finish.
Like any screed, it is not a structural element: it doesn’t contribute to the stability of the building. But in a floating construction, the screed carries more responsibility than in any other type, because there is no rigid support directly beneath it.
Floating, bonded and unbonded screed: the differences
Screeds are classified by how they relate to the base they sit on. There are three main constructions:
- bonded screed: laid directly on a prepared concrete base and fully bonded to it, usually with a bonding agent. It works together with the base and can be relatively thin;
- unbonded screed: laid on the base but deliberately separated from it by a membrane, for example a damp-proof membrane. It is not bonded, but it still sits on a rigid support;
- floating screed: laid on a compressible layer of insulation. It sits on a soft support and must be thick and strong enough to work on its own.
| Construction | Laid on | Relative thickness | Typical use |
|---|---|---|---|
| Bonded | Prepared concrete base, with bonding agent | Thinnest | Commercial and industrial floors, heavy loads, refurbishment with limited build-up |
| Unbonded | Concrete base, separated by a membrane | Intermediate | Bases with a damp-proof membrane or contaminated surfaces |
| Floating | Insulation layer, with separating membrane | Thickest | New-build housing, underfloor heating, thermal and acoustic insulation |
For an overview of all screed types, see our screed complete guide.
How a floating screed is built: the layers
A floating floor is a system, and each layer has a specific job. From the bottom up, a typical build-up includes:
- structural base: the concrete slab or the structural floor that carries the loads of the building;
- levelling layer for services: where pipes and cables run across the floor, they are embedded in a levelling layer so that the insulation above can be laid on a flat, continuous surface;
- insulation: rigid thermal insulation boards, sometimes combined with an acoustic layer;
- separating membrane: a polythene sheet laid over the insulation, which stops the fresh screed from running into the board joints and, with liquid screeds, keeps the mix contained;
- perimeter strip: a compressible strip fixed around walls, columns and any upstands, which separates the screed from the building structure;
- underfloor heating pipes, where present: fixed to the insulation or to a dedicated system;
- floating screed: the screed layer itself;
- floor finish: tiles, timber, vinyl, carpet or resin.
Every layer affects the ones above it. An uneven base makes the insulation rock, unstable insulation lets the screed move, and a perimeter strip that is missing or damaged lets the screed touch the walls, transmitting both stress and sound.
Why choose a floating screed?
The floating construction has become standard for good reasons:
- thermal insulation: the insulation layer limits heat loss through the floor, an essential requirement for meeting current energy standards;
- underfloor heating efficiency: with insulation below, heat from the pipes is directed upwards into the room instead of being lost into the structure. See our guide to underfloor heating screed;
- acoustic performance: separating the screed from the structure and the walls reduces the transmission of impact sound, such as footsteps, to the rooms below. This is particularly important for separating floors in flats, where the requirements of Approved Document E apply in England and Wales;
- independence from the base: the screed is not affected by cracks or movement in the slab below, and is not bonded to a surface that may be dirty or uneven.
Choosing and laying the insulation
The insulation is the support of a floating screed, so its choice and installation directly affect how the floor performs.
Compressive strength is the key property. The insulation must be rigid enough to carry the screed, the floor finish and the loads in service without compressing excessively. A board that is too soft lets the screed deflect under load, with a high risk of cracking. The insulation manufacturer’s data sheet indicates which products are suitable under screeds and for which loads.
Thermal and acoustic layers often have different requirements. Acoustic layers designed to reduce impact sound are, by their nature, more compressible than thermal boards. When they are used, the screed design must take this into account.
Types of insulation used under floating screeds
| Insulation | Main features | Notes |
|---|---|---|
| Expanded polystyrene (EPS) | Lightweight, cost-effective, available in several compressive strength grades | The most common choice; the grade must match the loads on the floor |
| Extruded polystyrene (XPS) | Higher compressive strength, low water absorption | Often used where loads are higher or moisture is a concern |
| Polyisocyanurate (PIR/PUR) | High thermal performance for a given thickness | Useful where floor build-up is limited; check suitability under screed with the manufacturer |
| Acoustic resilient layers | Designed to reduce impact sound | More compressible by nature; the screed design must account for this |
For rigid foam boards, compressive strength is usually declared as CS(10): the compressive stress at 10% deformation, expressed in kPa. For EPS, the grade name typically reflects this value, so a higher number means a stiffer board.
When laying the insulation:
- lay the boards on a flat, clean base, with no debris or ridges underneath;
- butt the boards tightly together and stagger the joints;
- don’t cut channels in the insulation to run services: use a levelling layer below instead;
- where two layers of insulation are used, stagger the joints between the layers;
- protect the boards from damage and foot traffic until the screed is laid.
Floating screed minimum thickness: how thin can it be?
Because it sits on a soft support, a floating screed needs more thickness than a bonded one. For cement-based screeds in the UK, the reference is BS 8204-1, which indicates the following minimum thicknesses:
| Floating screed | Minimum thickness | Notes |
|---|---|---|
| Sand and cement, lightly loaded (domestic) | 65 mm | Typical of housing |
| Sand and cement, more heavily loaded (commercial) | 75 mm | Offices, shops, public buildings |
| Over underfloor heating pipes | 25 mm cover above the pipes | In addition to the overall minimum thickness |
| Liquid (flowing) screeds | Usually thinner | Set by the product’s certification and the manufacturer’s guidance |
📌 Note
These are minimums, not targets. In practice, the design thickness must also allow for the tolerances of the base and the insulation, so that the screed never drops below the minimum at any point. A screed that is 65 mm on average but 45 mm in some areas is not a 65 mm screed.
With underfloor heating, both conditions apply at the same time: the overall minimum thickness of the screed and the minimum cover above the pipes. The design thickness must satisfy whichever is more demanding at every point of the floor, including where pipes cross or run close to each other.
Why does a floating screed need to be so much thicker than a bonded one? Because it works like a slab resting on a soft bed. Under a point load, such as a furniture leg or a ladder, the insulation compresses slightly and the screed has to bend to spread the load. A thin screed bends too much and cracks; a thicker screed spreads the load over a wider area of insulation.
Sand and cement or liquid floating screed?
Both families of screed can be laid as floating screeds, with different strengths.
Sand and cement screed is the traditional choice. It is versatile, can be used in almost any situation and tolerates a wide range of floor finishes. In a floating construction, however, it requires careful compaction: a semi-dry mix laid over a soft layer must be fully compacted through its whole thickness, without voids at the bottom.
Liquid screeds, either anhydrite (calcium sulphate) or cement-based, flow around the pipes and level themselves. They fully encapsulate underfloor heating pipes, need no compaction and can usually be laid in thinner sections. In return, they need a perfectly sealed membrane, because any gap lets the mix run under the insulation and lift it.
| Feature | Sand and cement | Liquid (anhydrite or cement-based) |
|---|---|---|
| Placing | Semi-dry mix, compacted and levelled by hand | Pumped, flows and self-levels |
| Compaction | Essential through the whole thickness | Not required; dappled to release air |
| Pipe encapsulation | Good if well compacted around the pipes | Complete, with no voids around the pipes |
| Thickness | Higher minimums (65–75 mm) | Usually thinner, per product certification |
| Membrane | Overlapped polythene sheet | Fully sealed and taped tanking, to stop leaks |
| Before floor finishes | Moisture test | Moisture test; anhydrite surfaces usually need laitance removal |
For a detailed comparison of the two, see sand and cement screed vs self-levelling screed.
Reinforcement: mesh or fibres?
Floating screeds, and especially sand and cement ones, are often reinforced to limit cracking and keep the screed together over the soft support.
- fibres, usually polypropylene micro-fibres, reduce early cracking and make the mix more cohesive. They are widely used in domestic floating and heated screeds;
- steel mesh works once the screed has hardened, holding crack edges together. It is generally specified for higher loads or compressible insulation, and it only works if it sits within the screed, around mid-depth, not on the membrane.
The choice belongs to the floor specification. For a full comparison, read our guide to fibre reinforced screed.
Joints and perimeter strips
A floating screed moves: it shrinks as it dries and, with underfloor heating, expands and contracts with temperature. Joints and perimeter strips give it room to do so without cracking.
- perimeter strip: a compressible strip runs along all walls, around columns, pipes and any element that rises through the floor. It must be continuous and stand slightly above the finished screed level, to be trimmed later;
- bay joints: large areas are divided into bays, according to the specification and the type of screed;
- doorways: joints are normally placed at door thresholds, where the floor narrows and stress concentrates;
- heating zones: with underfloor heating, joints are usually aligned with the boundaries between heating circuits, so that areas heated independently can move independently.
Joints in the screed must be carried through to the floor finish where required, particularly with tiles and other rigid finishes.
Floating screeds and acoustic performance
In flats and multi-storey buildings, a floating screed is one of the main tools for controlling impact sound between floors. The principle is simple: the screed and the floor finish are isolated from the structure, so footsteps and knocks are not transmitted directly into the slab and the walls.
The principle only works if the isolation is complete. A single rigid contact between the screed and the structure, known as a sound bridge or flanking path, can undo much of the benefit. The most common weak points are:
- the perimeter: the perimeter strip must be continuous, and the screed must never touch the walls, even at corners and door frames;
- skirting boards: skirtings fixed to the wall should not sit hard down on the floor finish; a small gap or a flexible seal keeps the floor isolated;
- tiles at the edges: perimeter tiles should be separated from the wall with a flexible joint, not with rigid grout or adhesive;
- pipes and services: every pipe passing through the screed should be wrapped with resilient material where it crosses the floor;
- damaged insulation: gaps or holes in the resilient layer let screed reach the slab directly.
📌 Note
In England and Wales, separating floors in dwellings must meet the sound insulation requirements of Approved Document E. The acoustic design of the floor, including the resilient layer and the screed thickness, is part of the building design and should be followed exactly on site.
How to lay a floating floor screed: the key steps
- check the base: it must be sound, clean, dry enough and flat, with services already embedded in a levelling layer;
- lay the insulation: tightly butted boards, staggered joints, no gaps or rocking;
- fix the perimeter strip: continuous along all walls and upstands;
- lay the separating membrane: with generous overlaps, turned up at the edges against the perimeter strip and, for liquid screeds, taped at all joints;
- install the heating pipes, if present, and pressure test the circuits before screeding;
- set the levels: mark the finished screed level, checking that the minimum thickness is respected everywhere;
- place and finish the screed: compaction and levelling for sand and cement screeds, pumping and dappling for liquid screeds;
- form the joints: as specified, at doorways and between heating zones.
Laying a sand and cement floating screed
A semi-dry screed over insulation is usually laid in strips, working between levelling screeds or rails set to the finished level. The mix, prepared on site with screed mixers or delivered ready-mixed, is spread, compacted thoroughly through its whole depth and then ruled off and finished. Compaction is the critical point: over a soft support, the bottom of the layer is the hardest part to compact and the easiest to neglect.
Where mesh is specified, a common approach is to lay and compact roughly half the screed thickness, place the mesh, and then lay the remaining thickness straight away, so the mesh ends up around mid-depth and the two layers bond into one.
Working fresh on fresh is important: each strip should be laid against the previous one before it has started to set, to avoid weak cold joints.
Laying a liquid floating screed
With liquid screeds, the membrane becomes a sealed tray: all joints are taped and the edges are turned up against the perimeter strip. Levels are set with level pins or tripods across the area. The screed is pumped in, usually with dedicated liquid screed machines that mix and convey it in one continuous process, flows around the pipes and is then dappled, by passing a dappling bar through the surface in two directions to release trapped air and help it level.
Liquid screeds also need checks before pouring: heating pipes must be firmly fixed, because the fresh mix can lift pipes that are not secured, and the insulation must be stable so it doesn’t float on the liquid.
Curing and drying a floating screed
A floating screed has one important characteristic: it can only dry from the top. The membrane and the insulation below stop moisture from escaping downwards, so all the water has to leave through the surface. This makes drying slower than in a bonded screed of the same thickness, and makes good ventilation essential.
For sand and cement screeds, the usual rule of thumb is around 1 mm per day for the first 40 mm under good drying conditions, with drying slowing down further as thickness increases. A 65–75 mm floating screed therefore needs considerably more time than its thickness alone would suggest.
📌 Note
Before laying floor finishes, the moisture content must always be measured, not estimated.
For cement-based screeds in the UK, moisture is commonly assessed with a hygrometer, measuring the relative humidity of the air trapped above the screed surface, as described in BS 8203. Many resilient floor finishes require the screed to reach 75% relative humidity or less, but the flooring manufacturer’s requirement always takes precedence. Anhydrite screeds are generally tested with the carbide (CM) method, with lower limits set by the screed and flooring manufacturers.
In the first days, cement-based screeds should be protected from rapid drying, draughts and direct heat, to limit cracking and curling. With underfloor heating, the system must only be started once the screed has reached the age indicated in the specification, following a gradual commissioning procedure.
Floating screeds in refurbishment and on timber floors
In new builds, a floating screed is usually designed into the floor from the start. In refurbishment, things are rarely that simple. The existing structure may not have been designed for the extra weight of a 65–75 mm screed, floor levels are constrained by doors, stairs and thresholds, and the base may be uneven.
In these situations, a few options are worth considering:
- liquid screeds: they can usually be laid in thinner sections than sand and cement, reducing both weight and build-up;
- lightweight levelling layers: to correct an uneven base or embed services without adding too much load. See our lightweight screed guide;
- dry floating floors: board systems laid over insulation, with no water and no drying time, are often the most practical option on timber structures.
📌 Note
On timber floors in particular, the stiffness of the structure and the added load must always be checked by a qualified engineer before laying any screed.
Common problems and how to avoid them
- curling: the edges and corners of the screed lift as the top dries and shrinks faster than the bottom. Floating screeds are particularly prone to it because nothing holds them down. Controlled curing, a correct mix and properly placed joints limit the risk;
- cracking: caused by excess water, missing joints, insufficient thickness or rapid drying. Insulation that is too soft also leads to cracks under load;
- hollow-sounding areas: in sand and cement screeds, poor compaction at the bottom of the layer leaves weak zones that sound hollow when tapped;
- settlement and rocking: insulation laid on an uneven base, or with gaps between boards, moves under the screed;
- sound bridges: where screed touches the walls because the perimeter strip is missing or damaged, impact sound passes directly into the structure and the acoustic performance is lost;
- liquid screed leaks: a membrane that is not sealed lets the mix flow under the insulation, lifting the boards and reducing the screed thickness.
Most of these problems are prevented by the same principles: a well-prepared base, good-quality insulation laid with care, the right thickness, a consistent mix and patience during drying.
Overmat solutions for floating screeds
In a floating screed, the consistency of the mix is not a detail: the screed has to perform on its own, over a soft support, through its whole thickness. That’s why mix consistency should be one of the first criteria when evaluating a concrete screed machine for sale. With an automated screed machine, the dosing of each component is managed electronically, compensating even for the natural moisture of the sand, and the mix is conveyed directly to the floor through the hose.
Overmat has a dedicated solution for each layer and each type of floating screed:
- T series: for traditional sand and cement screeds, pre-mixed dry screeds and heated screeds, available in electric and hybrid versions;
- ALS series: for self-levelling anhydrite and cement screeds, ideal for floating screeds over underfloor heating;
- TWIN: a dual-mixing plant that produces both traditional and self-levelling screeds with the same machine;
- EPS series: for lightweight subfloors with expanded polystyrene, used to embed services and create a flat, lightweight levelling layer beneath the insulation. Learn more in our lightweight screed guide.
All Overmat machines are integrated with the MixerApp, which lets you monitor machines remotely, manage recipes, check site reports and access technical support.
If you’re comparing options for a screed machine for sale, our team can help you choose the right configuration for floating screeds, from the levelling layer beneath the insulation to the final screed. Contact our team to find the right solution for your sites.
FAQ – Frequently asked questions
What is the minimum thickness of a floating screed?
For sand and cement floating screeds, BS 8204-1 indicates 65 mm for lightly loaded floors, such as housing, and 75 mm for more heavily loaded floors. Over underfloor heating, at least 25 mm of screed is needed above the pipes. Liquid screeds can usually be thinner, according to the product’s certification.
What is the difference between a floating screed and an unbonded screed?
Both are separated from the base, but an unbonded screed sits on a rigid support with only a membrane in between, while a floating screed sits on a compressible layer of insulation. This is why a floating screed needs to be thicker.
Floating floor vs screed: which is better?
“Floating floor” often refers to dry systems, such as boards laid over insulation, rather than a wet screed. Dry systems are lighter and need no drying time, which makes them useful in refurbishment and on timber structures. A floating screed adds mass and robustness, spreads heat more evenly with underfloor heating and suits a wider range of floor finishes. Neither is better in absolute terms: the choice depends on the structure, the loads, the heating system and the programme.
Do you need a damp-proof membrane under a floating screed?
On ground floors, a damp-proof membrane is needed to protect the floor from ground moisture. It can sit below the slab or above it, beneath the insulation. It is a different layer from the polythene separating membrane laid over the insulation, which separates the screed from the boards.
How long before you can walk on a floating screed?
Light foot traffic is usually possible after 24 to 48 hours, depending on the type of screed, the product and site conditions. Heavier traffic and stored materials should wait until the screed has gained more strength.
Can you lay a floating screed on a timber floor?
It is possible, but the timber structure must be checked by an engineer for the additional load and its stiffness. In many cases, thinner liquid screeds, lightweight solutions or dry floating floor systems are more suitable.
Does a floating screed need reinforcement?
It depends on the specification. Many domestic floating screeds use fibres, while steel mesh is generally specified for higher loads or compressible insulation. In some cases the two are combined.
Can services run through the insulation under a floating screed?
It’s best to avoid it. Cutting channels in the insulation weakens the support of the screed and creates thin spots. Pipes and cables should be embedded in a levelling layer below the insulation, so the insulation can be laid flat and continuous.
Why does a floating screed take longer to dry?
Because it can only dry from the top. The membrane and insulation below stop moisture escaping downwards, and floating screeds are also thicker than bonded ones. Good ventilation and a moisture test before laying finishes are essential.
Is a floating screed suitable for underfloor heating?
Yes, it’s the standard construction for underfloor heating. The insulation below directs heat upwards into the room, and the screed encapsulates the pipes and spreads the heat evenly across the floor.
What causes curling in a floating screed?
Curling happens when the top of the screed dries and shrinks faster than the bottom, lifting the edges and corners. Floating screeds are more exposed to it because nothing holds them down. Controlled curing, a correct water content and well-placed joints reduce the risk.