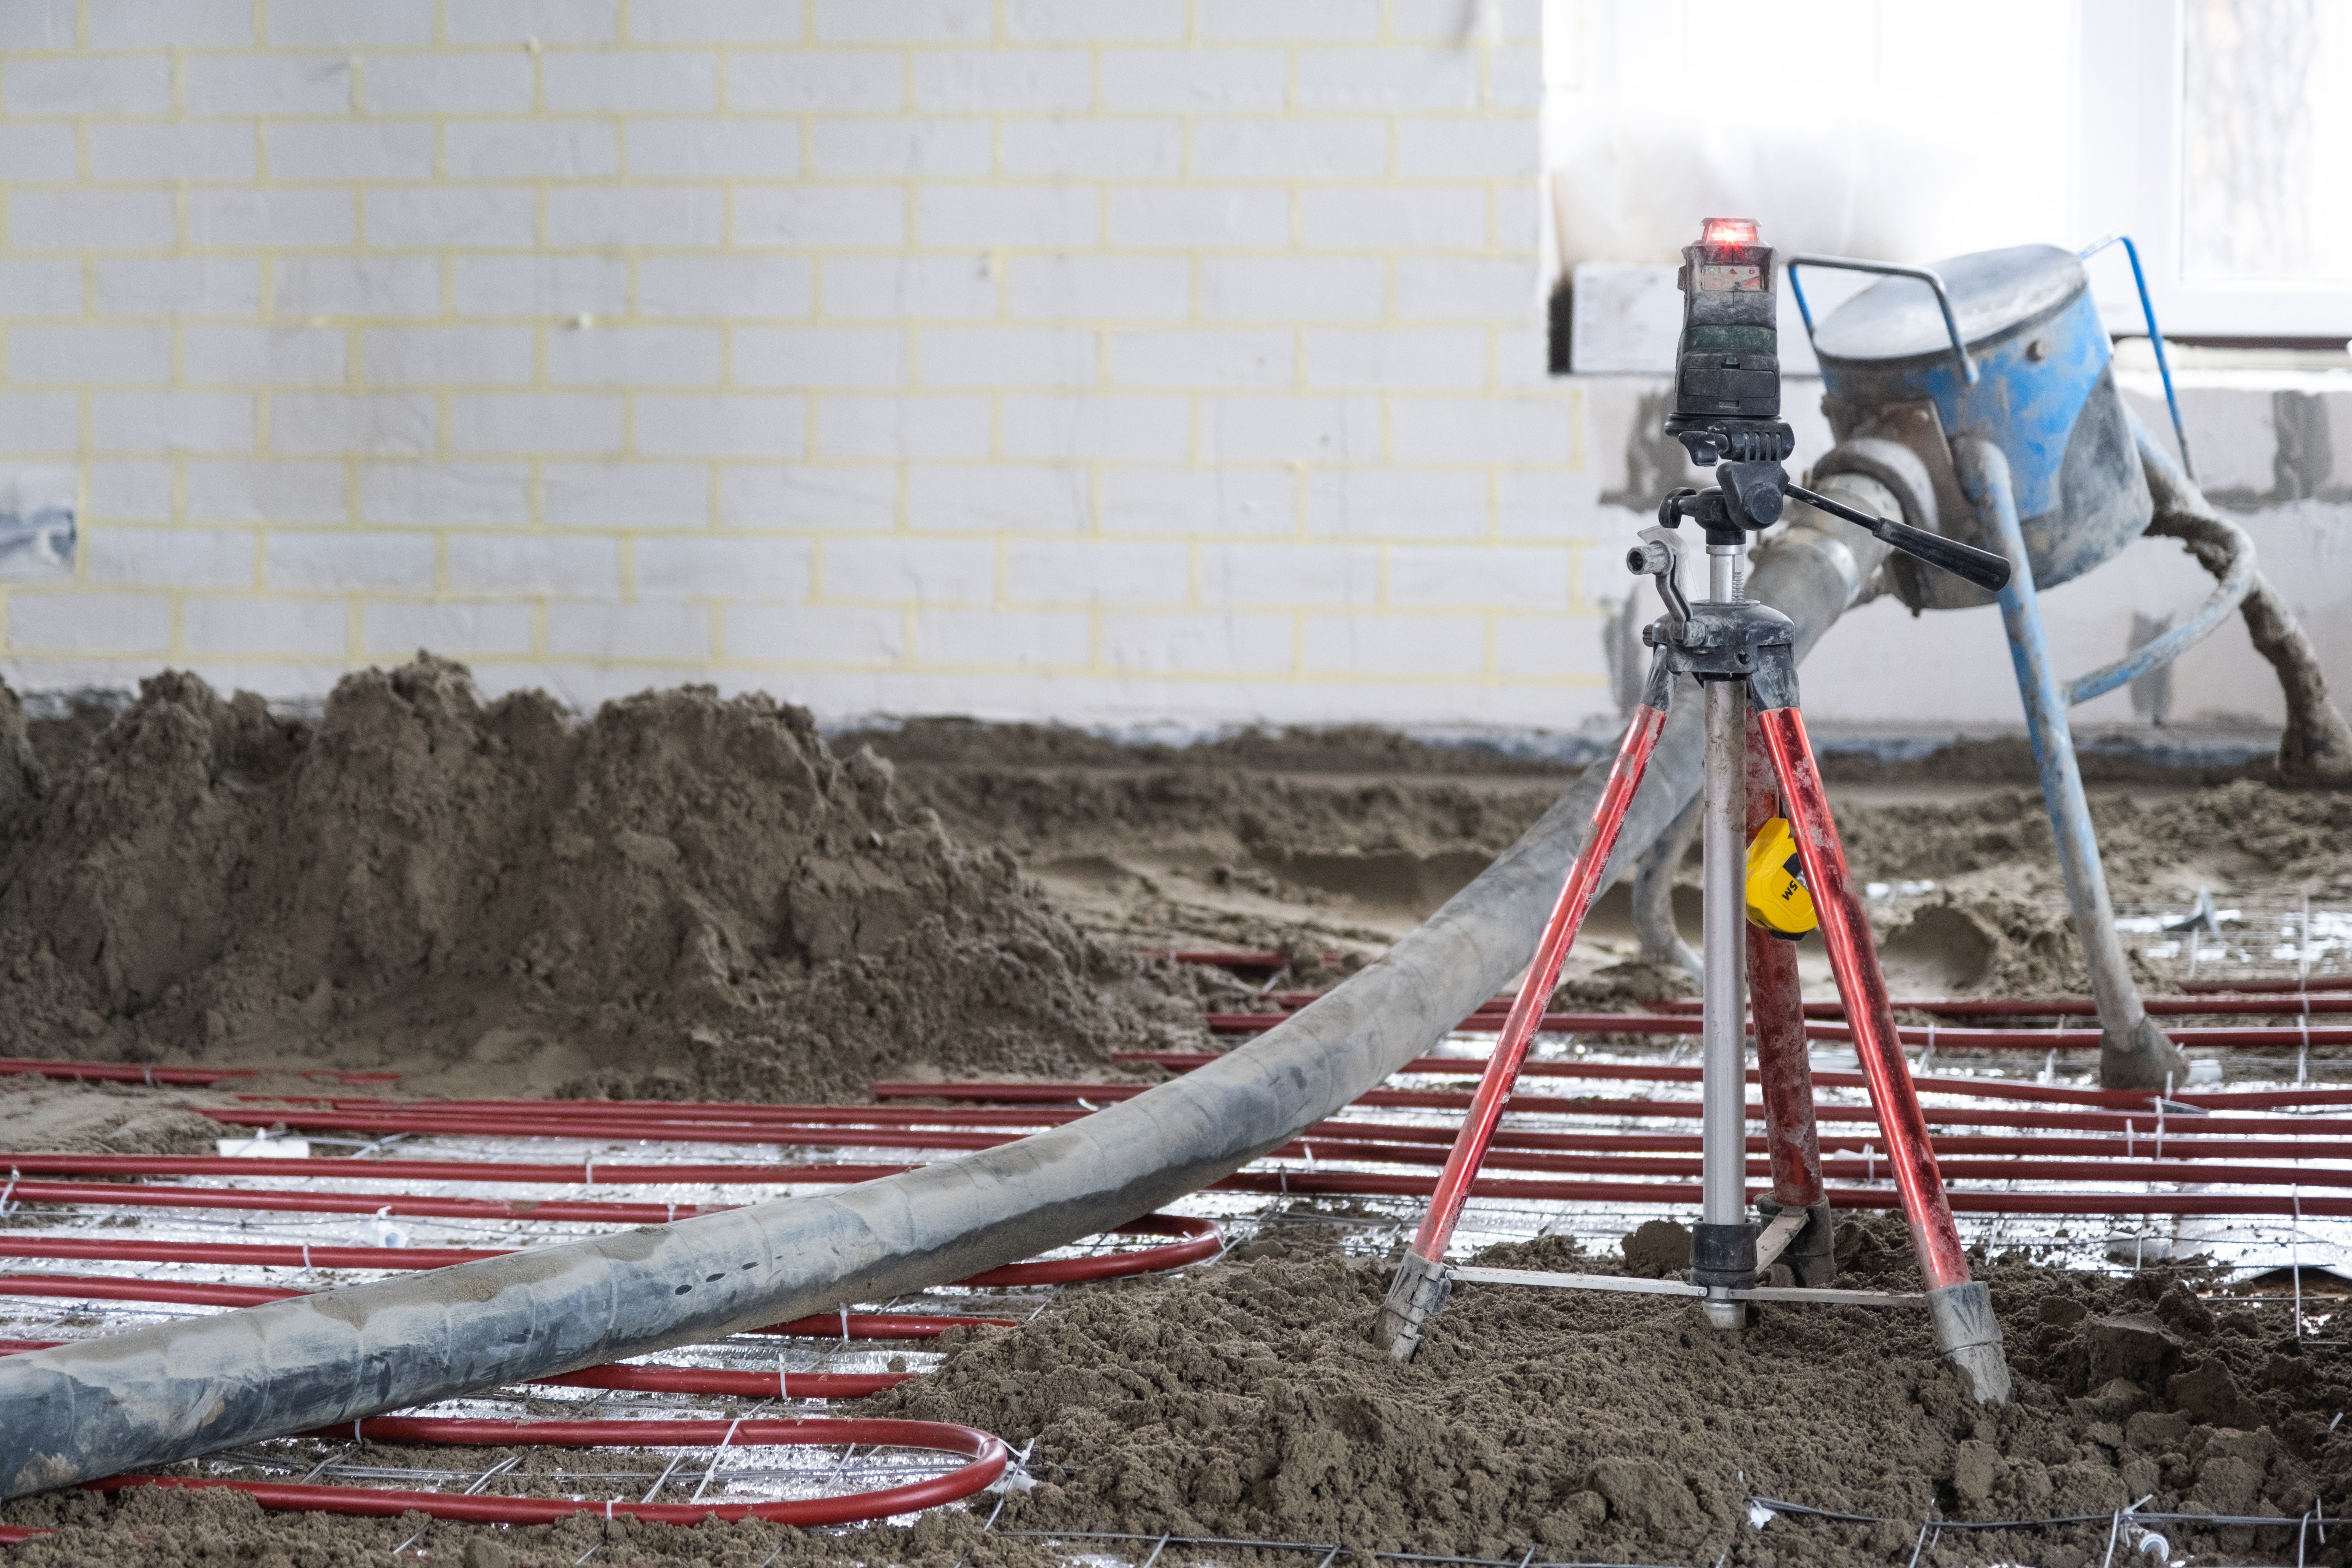
The screed that encases underfloor heating (UFH) isn’t a neutral layer sitting on top of the system. It’s part of the heat emitter itself: it distributes heat evenly across the room, stores it and releases it gradually. Get the wrong screed, the wrong depth or the wrong commissioning schedule, and you’re not just risking a cracked floor, you’re compromising how the whole system performs. This guide sets out what UK standards (chiefly BS EN 1264) and industry best practice (NHBC, the Contract Flooring Association, and structural warranty providers such as Premier Guarantee) actually require to get a screeded UFH installation right.
Table of Contents
- Do you need screed for underfloor heating?
- Can you lay underfloor heating without screed?
- What is the best screed for underfloor heating?
- Technical overview: screed types compared
- Screed thickness for underfloor heating
- Movement and expansion joints
- How long does screed take to dry with underfloor heating?
- When can you turn on underfloor heating after screed?
- Installing screeded underfloor heating: the main steps
- Overmat machines for underfloor heating screed
Do you need screed for underfloor heating?
Yes, for the vast majority of wet (hydronic) UFH systems embedded in the floor build-up, screed is essential. It isn’t just a level surface for the final floor covering: it’s the medium through which heat from the pipework spreads evenly across the room, avoiding hot stripes directly above the pipe runs and cooler bands between them. Without it, the pipes would be transferring heat into open air rather than into a solid, conductive mass, which is a far less efficient way of heating a room from below.
The screed also acts as a thermal store. Once it has warmed up, it keeps releasing heat gradually even as the water temperature in the pipes cycles up and down, which is part of why UFH feels steadier and less draughty than a system that heats the air directly. The trade-off is response time: a thicker, higher-mass screed takes longer to warm up and cool down than a thin one, which is one of the reasons thickness (covered further down) is such a carefully specified figure.
A screed with good thermal conductivity also allows the system to run at a lower flow temperature for the same comfort level, which reduces running costs and pairs particularly well with low-temperature heat sources such as air or ground source heat pumps. Conductivity varies by screed type and mix, which is part of why liquid and additive-enhanced screeds have become popular for UFH specifically: they’re formulated to move heat through the material faster than a standard sand and cement mix.
Can you lay underfloor heating without screed?
Yes, but that means choosing a different category of system, not skipping a step. So-called “low profile” or “floating” systems are designed specifically for renovations and extensions where floor build-up height is tightly restricted and a full screed pour isn’t practical.
- Low profile / dry systems: preformed panels (often with a routed channel or castellated surface for the pipe) topped with a heat-spreading plate and the final floor covering, with no wet screed at all. Total build-up can be as little as 18mm, but thermal mass is very low and heat output is generally lower than a screeded system for the same pipe spacing and flow temperature.
- Floating timber systems: panels fixed between or over joists on suspended timber floors, again without a wet screed, aimed at first-floor and upper-storey installations where a poured screed isn’t structurally practical.
As a rule of thumb, screeded systems give the best overall performance where sufficient floor depth is available, particularly for new builds and ground-floor extensions. Low profile and floating systems are the go-to choice for retrofits, upper floors and any project where height is the binding constraint, at the cost of some heat output.
What is the best screed for underfloor heating
There is no single correct answer: the right screed depends on floor area, programme, available depth and the finish that will be laid on top. UK practice recognises several distinct screed types, broadly grouped as modified semi-dry cementitious, modified self-levelling cementitious, and modified self-levelling non-cementitious (calcium sulphate/anhydrite).
Traditional sand and cement (semi-dry) screed

Mixed either on site or delivered as a factory-blended dry mix, laid by hand at a semi-dry (“damp sand”) consistency and trowelled to a finished level. It remains the most common choice for standard-sized domestic projects: reliable, well understood by tradespeople, and requiring no specialist pumping equipment.
Because it’s applied and compacted by hand, it also tolerates a wider range of site conditions than a pumped mix, which is part of why it’s still the default on smaller, more fragmented jobs where access for pumping equipment is limited or the area is broken up into several small rooms rather than one open floor plate. The trade-off is labour intensity on larger areas and a finished quality that depends heavily on the skill of the screeder, since consistency is harder to control by hand than with a pumped, self-levelling mix.
Liquid / self-levelling screed

Pumped into place as a free-flowing mixture that finds its own level with no manual trowelling, available in cement-based and calcium sulphate (anhydrite) formulations. For UFH specifically, this is often the preferred option on larger areas: the fluid mix fully surrounds the pipework with no air voids, improving thermal contact between the pipe and the screed, and can generally be laid at a shallower depth than a hand-applied mix for the same performance. Anhydrite screeds in particular tend to have a faster drying and curing time than cementitious screeds, though the water-to-powder ratio is critical: too much water and cracking becomes a real risk. Calcium sulphate screeds must never be reinforced with steel, since the material corrodes it in damp conditions, and they aren’t suitable for external or consistently wet areas.
One site issue worth flagging on anhydrite screeds specifically: they always develop a weak surface layer of laitance as they cure, and if it isn’t fully sanded off and the surface primed before a cement-based tile adhesive is applied, the residual calcium sulphate reacts chemically with the cement to form ettringite. That reaction disrupts the bond and is a common cause of tile failure and disbonding well after handover, one of the most frequent points of dispute on UK sites using liquid screeds.
Electric vs water-based (wet) systems
BS EN 1264 covers water-based, hydronic systems specifically; it doesn’t apply to electric underfloor heating, which follows electrical safety rules and manufacturer guidance instead, alongside Part L energy performance requirements. Electric systems (cables or preformed heating mats) are generally used in smaller areas such as bathrooms and kitchens, or in targeted retrofit work, and can often sit under a thinner screed than a water-based circuit, but the manufacturer’s own installation instructions always take precedence over generic screed guidance, since electric elements behave differently to pipework in terms of both heat output and mechanical protection requirements. Electric UFH also typically falls under Part P of the Building Regulations as notifiable electrical work, requiring sign-off through a competent person scheme or Building Control.
Technical overview: screed types compared
| Parameter | Traditional sand & cement | Liquid cementitious | Liquid calcium sulphate |
|---|---|---|---|
| Application & compaction | Hand-laid, semi-dry (“damp sand”); compaction required, manual or mechanical (screed rail) | Pumped, self-levelling; self-compacting, no manual compaction needed | Pumped, self-levelling; self-compacting, no manual compaction needed |
| Composition | Cement, sharp sand (max 4mm), water, optional fibres/admixtures | Cement binder, fine aggregate, water, flow admixtures | Calcium sulphate (anhydrite) binder, fine aggregate, water |
| Min. depth over UFH pipe | 30mm; UK floating build-up typically 75mm total | 30mm; commonly 40-50mm total for UFH products | 30mm; often the thinnest of the common options |
| Reinforcement | Can be reinforced | Can be reinforced | Never steel-reinforced, corrodes in damp conditions |
| Drying time | ~1 day/mm to 50mm, then longer (BS 8204) | Faster than traditional at equal thickness | Generally the fastest-drying option |
| UFH first heat-up wait | 21 days | 21 days | 7 days |
| Typical use |
|
|
|
| Key watch-out | Labour-intensive, quality depends on the screeder | Water-to-powder ratio critical, or cracking risk | Laitance must be sanded and primed before cement-based adhesive, to avoid ettringite bond failure |
Screed thickness for underfloor heating
Thickness above the pipe is the parameter with the most regulatory detail, and it’s worth being precise about what each figure actually refers to.
- The BS EN 1264 baseline: the standard sets a general minimum nominal thickness of 30mm above the pipe, measured from the top of the pipe to the top of the screed, applying across cementitious, calcium sulphate, self-levelling calcium sulphate, synthetic resin and magnesite screeds. Manufacturers of proprietary low-depth systems can specify a lower figure, provided their own technical data supports it.
- UK floating screed practice: in practice, most UK guidance for floating screeds (poured over a separating membrane on top of insulation and UFH, the standard domestic build-up) specifies a minimum total coverage of 75mm to avoid cracking, a figure repeatedly cited by structural warranty providers. This 75mm is the overall screed thickness, not just the cover above the pipe: it accounts for the pipe diameter itself plus the 30mm minimum cover above it, plus a margin for laying tolerance.
- Where thinner screeds are used: purpose-designed liquid screeds formulated specifically for UFH can be laid considerably thinner than a standard floating screed, commonly in the 40 to 50mm range including the pipe diameter, precisely because their flow characteristics let them fully encase the pipe without voids at a reduced depth. Retrofit-focused liquid compounds can go thinner still, down to around 50mm total or less when paired with a low-profile pipe system. Always check the specific product’s technical data sheet rather than assuming a generic figure applies.
- NHBC guidance: for concrete ground-bearing floors, NHBC Standards allow a maximum 20mm monolithic screed to count as part of the overall required thickness where the concrete slab itself contributes to the build-up; thicker floating screeds follow a dedicated thickness table depending on screed type and loading.
In short: 30mm is the regulatory floor, 75mm is typical UK practice for a standard floating screed, and 40-50mm is realistic for a liquid screed formulated specifically for UFH. All three are starting points, not fixed answers: the manufacturer’s own integrated design (insulation, pipe spacing, screed type and finish specified together) always takes precedence.
Building Regulations: Part L
Ground floors, and any floor in contact with the outside of the building, must be insulated to limit heat loss to no more than 10 W/m², calculated from the combined thermal resistance of the floor finish and the heated layer above the structural floor. Where UFH is intended for intermittent or cyclical operation, or is installed over an unheated room, the insulation separating it from the structural floor needs a thermal resistance of at least 1.25 m²K/W. Screeded floors thicker than 65mm are also required to have automatic night setback or unoccupied-period temperature reduction, since the extra thermal mass would otherwise keep releasing heat well after it’s needed, working against the room’s controls rather than with them.
Movement and expansion joints
This is one of the most commonly overlooked aspects of a heated screed, and one of the most common causes of warranty claims. Because a heated screed expands and contracts as its temperature changes, far more than an unheated screed, movement joints have to be designed in from the outset rather than added as an afterthought.
Movement joints should be provided:
- across door thresholds
- wherever a bay size exceeds 40m², with no single side longer than 8m
- wherever there’s a construction joint or change of span in the subfloor below (for example, over a beam and block floor)
- between independently controlled heating zones
- between heated and unheated areas of screed
- around points of high thermal gain, such as large conservatories or glazed atria
Joints must never be bridged by grout, and should never be covered by any resilient, textile or adhered floor finish running straight across them: they need to be carried up through every subsequent layer, filled with a flexible filler, and finished with a proprietary cover strip. Joint positions should be agreed between the main contractor, the UFH installer, the screeder and the flooring installer before the screed goes down, not worked out afterwards.
How long does screed take to dry with underfloor heating?
As a general rule for cementitious levelling screeds, BS 8204 allows roughly one day of drying per millimetre of thickness for the first 50mm, with drying time increasing per additional millimetre beyond that. Polymer-modified and calcium sulphate screeds can have different drying characteristics again, and should always follow the manufacturer’s own specification rather than the generic cementitious rule, since actual drying time depends heavily on ambient temperature and humidity on site as well as thickness.
This figure only tells you when the screed is likely to be ready, not when it definitely is: actual readiness for a floor finish should always be confirmed by direct moisture measurement (typically a carbide bomb test, or an oven-dried sample where higher accuracy is needed) rather than by the calendar alone, particularly where hygrometer readings at high humidity may be unreliable.
When can you turn on underfloor heating after screed
This is where UK guidance is very specific, and where a lot of the confusion in the trade comes from conflating two separate things: drying the screed, and commissioning the heating.
Minimum wait before first heat-up
Under BS EN 1264-4, initial heat-up must not begin before:
- 21 days after laying, for cement and sand screeds
- 7 days after laying, for calcium sulphate (anhydrite) screeds
Any other screed material should follow the manufacturer’s specific instructions rather than either of these figures.
The commissioning cycle itself
Once the minimum wait has passed, the system should be brought up gradually rather than switched straight to its working temperature:
- Flow temperature starts at around 25°C, held for at least 3 days.
- Flow temperature is then raised, in increments of roughly 5°C per day, up to the design flow temperature.
- The system is held at design temperature, then allowed to cool, before any moisture testing takes place.
Commissioning is a functional test of the heat emission system, not a drying method for the screed, and residual moisture doesn’t reliably disappear just because the heating has run once. Pressure testing the pipework is also not the same as commissioning: commissioning requires the actual heat source in place and running at temperature, not just water in the pipes under pressure.
Sequencing before a rigid floor finish
For tiling specifically, UK guidance sets out a fairly strict sequence: the UFH system must be commissioned and run before any floor finish is installed (installing tiles before commissioning risks residual moisture being driven up through the screed and delaminating the finish later). The heating is then switched off for at least 48 hours before tiling begins, and moisture testing is carried out after commissioning but before tiling, using a surface-mounted hygrometer or a carbide bomb/oven-dried sample. The heating itself must be switched off 96 hours before a hygrometer test is carried out, and the hygrometer needs to be left in place until equilibrium is reached, typically 72 hours, longer over thick sections or power-floated concrete. The base is generally considered dry enough once relative humidity readings are at 75% or below. After tiling, the heating shouldn’t be switched back on for at least a further 48 hours to allow the adhesive to fully set (commonly 12 to 24 hours depending on site conditions, but always checked against the adhesive manufacturer’s own guidance) before being brought back up gradually to working temperature.
Installing screeded underfloor heating: the main steps
- Weathertight shell first: UFH loops should not go in until all external doors and windows are fitted and the building is watertight, protecting the pipework from frost damage in cold weather before the screed is poured.
- Subfloor preparation: the base must be level, with no high or low spots: an uneven substrate produces an uneven screed thickness once poured, which in turn produces uneven heat output.
- Insulation: boards laid tightly butted and level, sized and specified to meet Building Regulations heat loss requirements for the floor type.
- Separating membrane: required under all liquid screeds and standard practice under semi-dry screeds too, run up the walls to the full depth of the screed, joints overlapped and sealed to prevent leakage into the insulation.
- Edge strip / perimeter expansion joint: a compressible strip, typically 6 to 15mm thick depending on the manufacturer’s specification for both screed and floor finish, isolating the screed from all walls, columns and abutments to accommodate thermal movement.
- Pipe fixing: pipework is clipped directly to the insulation, fixed to a castellated panel, or secured with a tray/track system, following the loop layout confirmed by the system designer (a spiral, or “snail”, layout is generally preferred over a simple serpentine run because it gives a more even surface temperature). Loops shouldn’t run right to the floor edge or under skirting, and any 90-degree bends should use a metal former to avoid restricting flow. Joints between manifold and pipework loops should always sit above the finished screed level, never embedded within it, for future maintenance access.
- Pressure testing: before the pour, BS EN 1264-4 requires the circuit to be tested at a minimum of 6 bar, at twice normal working pressure; in practice, most installers test to double that figure and hold it for 24 hours. This has to happen before the screed goes down, since a leak found afterwards means breaking out the floor.
- Pouring the screed: carried out under controlled conditions: not below 5°C, protected from draughts and direct sun, with the screed left completely undisturbed and not walked on during the drying period.
Overmat machines for underfloor heating screed
Getting screed depth, mix consistency and pipe coverage right over underfloor heating isn’t just a specification exercise, it depends on how the material is actually batched and pumped on site. Overmat, an Italian manufacturer with over 20 years of specialisation in screed and subfloor mixing plant, produces two ranges directly relevant to the systems covered in this guide.
A T Serie screed truck is built for traditional sand and cement screed, including heated screeds specifically, with computer-controlled dosing of aggregates, binders, admixtures and fibres to keep the mix consistent across a pour, something that matters more over UFH than on an unheated floor, since an uneven mix translates into uneven thermal performance once the system is running. It’s available in a hybrid version that can run either from the vehicle’s own power take-off or connected to mains power on site.
The ALS Serie screed machines cover the liquid, self-levelling side: flowing, self-smoothing screeds based on anhydrite or cement, mixed and pumped directly on site with computer-controlled dosing and a sand-humidity probe that automatically adjusts the water content per load. A liquid screed machine from the ALS Serie is also available in a double-binder silo version, splitting cement and filler into two separate compartments for cement-based self-levelling screeds, allowing more precise dosing and bringing the mix cost down further. This is the format most often specified for UFH where reduced depth or faster commissioning matters, since the fluid mix fully encases the pipework without the air voids a hand-applied screed can leave behind.
Both machines run on an onboard control computer rather than manual dosing, with recipes stored and reproduced automatically load after load instead of left to an operator’s judgement. The process is logged automatically too, what was mixed, when, and to which recipe, with that record accessible remotely via the Mixer App, alongside recipe management and technical support. For a screeded UFH job, where a warranty claim months later can hinge on proving exactly what went down, having that record generated automatically is worth more than it sounds.